First Steps with the Desktop App
Launch your eTrustable desktop app and you’ll go through the same login process, with an extra step this time (step four, below).
- Enter your email and the password provided.
- Next you’ll have to complete a brief Facial Recognition verification. Keep the following in mind to avoid any issues with this step:
- Make sure your webcam is turned on and unobstructed.
- Make sure the room is well lit and that the light source is not backlighting you too strongly.
- Face your camera and remove any accessories you might be wearing.
- Once that’s done, you’ll have to enter a Google authentication code to finally access the platform. You’ll need to download the Google Authentication App. Enter the six-digit code you’ve previously been sent and then hit “Log In” to gain access.
- Lastly (this is the extra step we mentioned above), you’ll be required to provide your Private Key file to the application, which will function as your personal signature used to authenticate every transaction you make. Simply drag and drop the text file located in the same folder the desktop app downloaded to. This step will only be performed for the users, who will be issuing the documents.
Congratulations! You now have full access to your eTrustable Desktop App as a user.
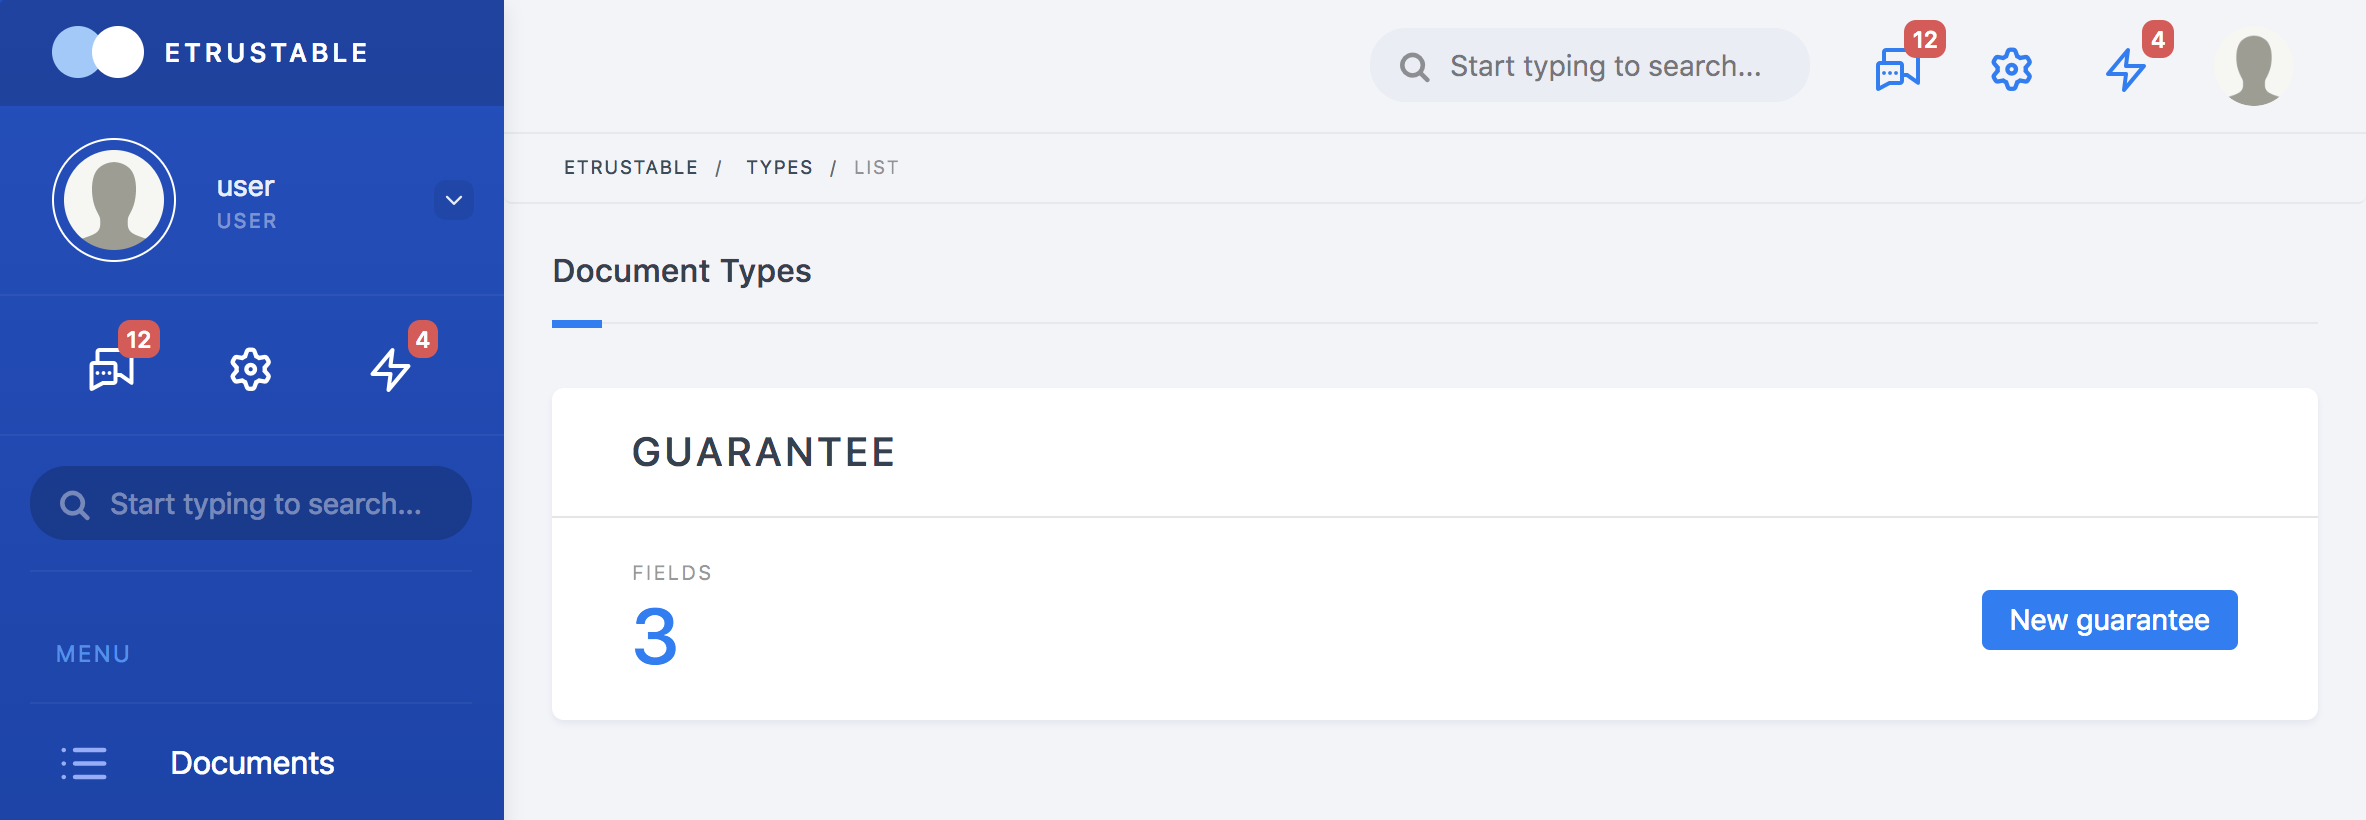
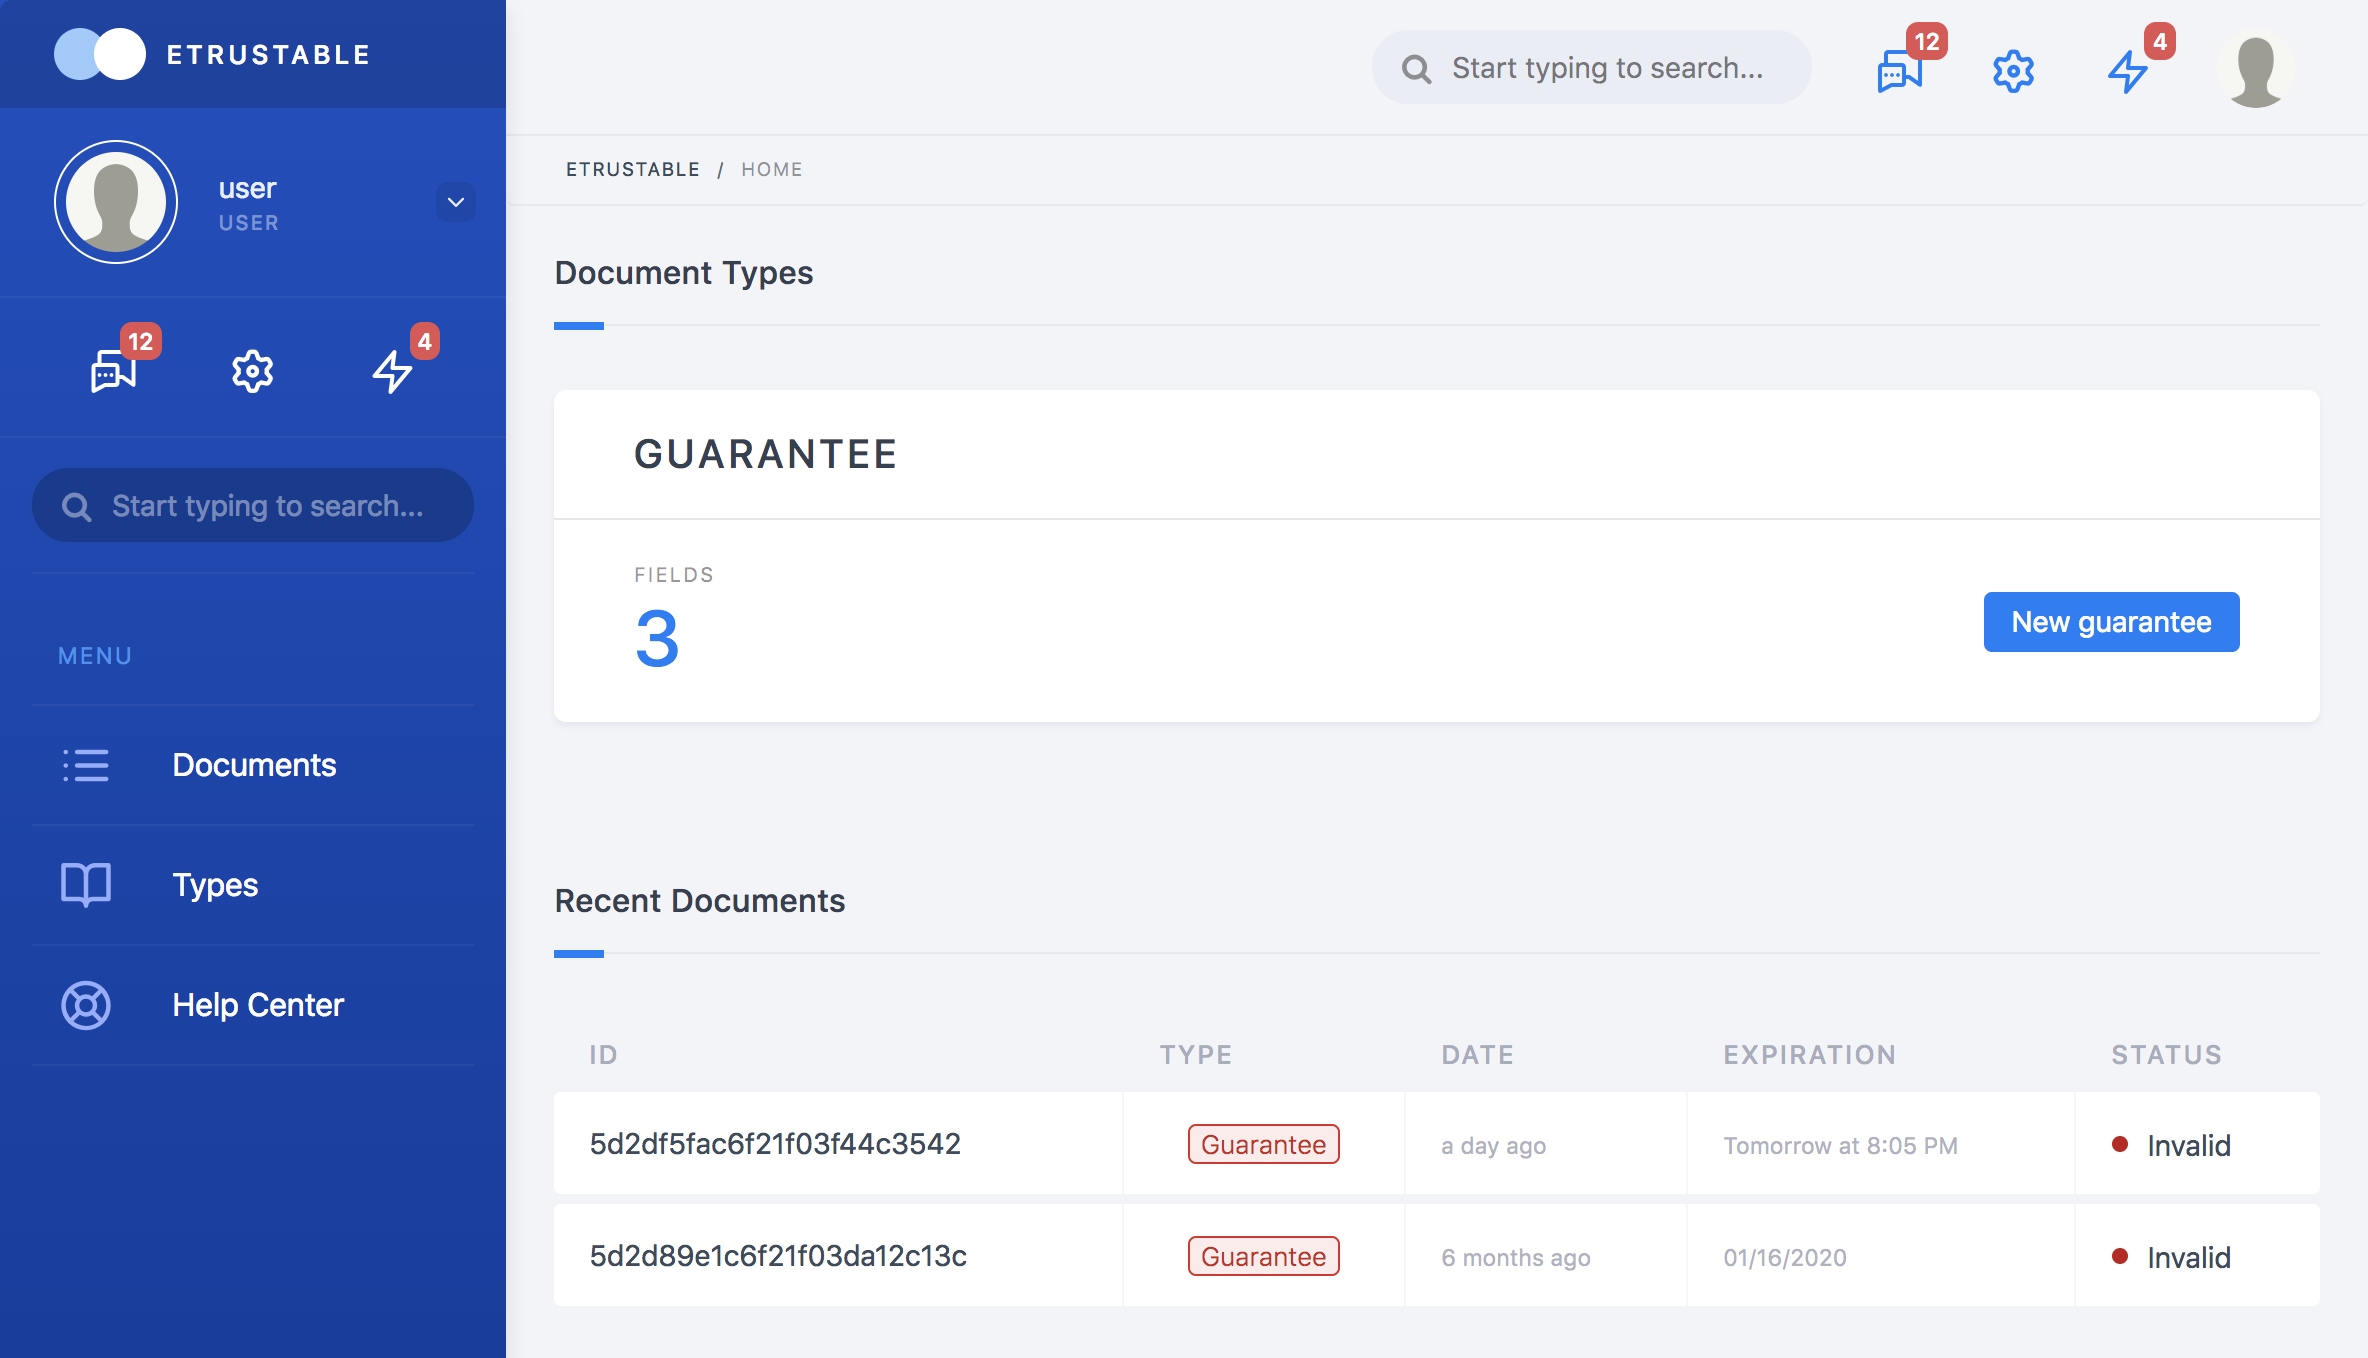
On your dashboard, you can see the document types you as a user are authorized to create, along with the number of fields they are composed of, and all the documents that have already been created along with all their corresponding information.
On the left, you can browse the menu, which allows you to look at each category (Documents & Types) separately.